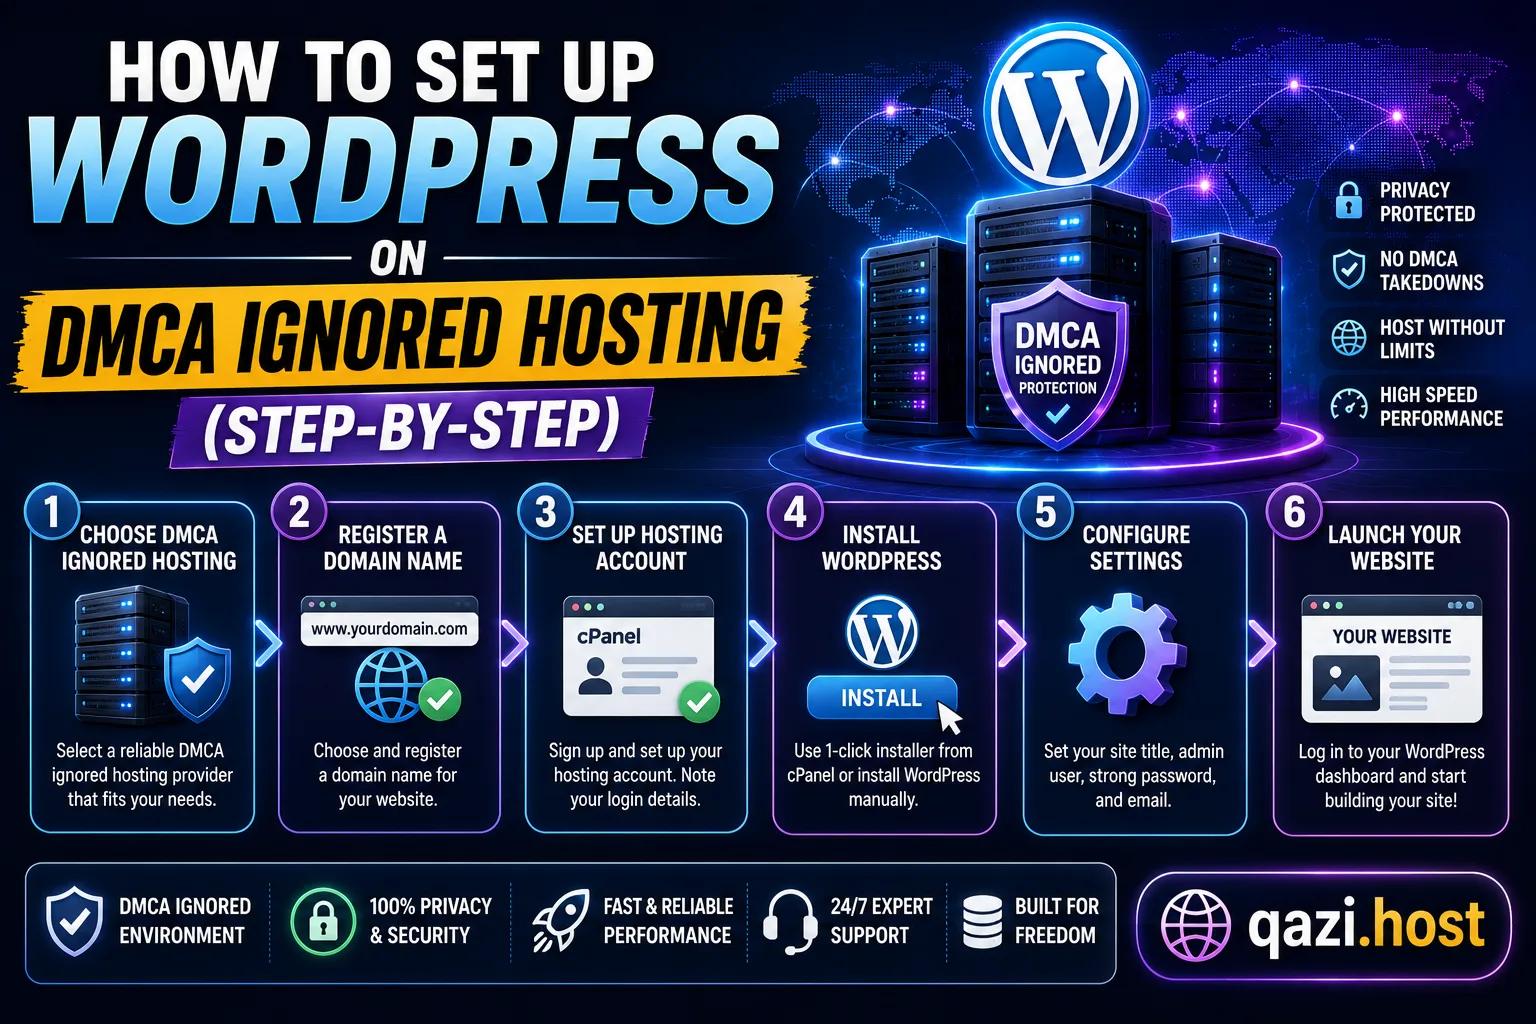
Moving a WordPress site to offshore hosting is technically identical to any other WordPress migration — the only difference is that your new host sits in the Netherlands or Romania instead of Virginia or Texas. If you can navigate a cPanel dashboard, you can do this yourself in an afternoon.
This guide covers both fresh installations (for new sites) and migrations (for existing sites). Follow whichever section applies to you.
Step 1: Choose the Right Hosting Plan
Before you do anything technical, pick the right plan for your situation.
Fresh site with one WordPress installation
A shared hosting plan is the right starting point. You get cPanel, one-click WordPress installation via Softaculous, and enough resources for most new sites and blogs. Shared hosting at Qazi.Host is built on LiteSpeed servers, which handle WordPress better than standard Apache setups.
Multiple WordPress sites or client sites
This is where a reseller hosting plan becomes the smarter choice. A single reseller account lets you:
- Create separate cPanel accounts for each site or client
- Allocate resources independently per account
- Brand the control panel with your own logo if you are an agency
- Scale from 5 to 50+ WordPress installations under one billing account
If you manage websites for clients, reseller hosting on an offshore provider means your clients' sites are all protected from abusive takedowns — not just your own.
Step 2: Set Up Your Hosting Account
Once you have ordered your plan, you will receive a welcome email with:
- Your cPanel login URL (usually something like
server.qazi.host:2083) - Your username and temporary password
- Your server's IP address and nameservers
Log into cPanel and change your password immediately. Then spend a few minutes familiarising yourself with the interface — particularly the File Manager, Databases, and Email sections.
Step 3: Point Your Domain to the New Host
You have two options here:
Option A: Update nameservers (recommended for full transfer)
Log into your domain registrar and update the nameservers to those provided in your hosting welcome email. DNS propagation takes 24–48 hours. During propagation, your old site stays live on the old host — visitors are gradually redirected as DNS updates across the internet.
Option B: Update A record only
If you want more control over timing, keep your existing DNS at your registrar and just update the A record (main domain) to point to your new server's IP. This works well if you are running a staged migration.
Step 4: Install WordPress
For a fresh installation
- Log into cPanel and find Softaculous Apps Installer
- Click WordPress → Install
- Set your domain, directory (leave blank for root), site title, and admin credentials
- Click Install — Softaculous handles the database creation and file placement automatically
- Log in at
yourdomain.com/wp-adminand you are done
For a migration from existing host
The most reliable way to migrate an existing WordPress site is using the Duplicator or All-in-One WP Migration plugin. Here is the process with Duplicator:
- On your old host: Install and activate the Duplicator plugin, create a new package, and download both the package file and the installer.php file
- On your new host: Create a new directory if needed (or use public_html for root), and a new MySQL database + user via cPanel → MySQL Databases
- Upload both files via cPanel File Manager or FTP to your target directory
- Visit
yourdomain.com/installer.phpin your browser - Follow the installer steps: it will decompress your package, connect to the new database, and update all internal URLs
- Delete installer.php and the package file after successful migration
Step 5: Enable SSL
After your DNS has propagated and your WordPress installation is working, enable SSL. In cPanel, go to SSL/TLS → Let's Encrypt (available on all Qazi.Host plans) and issue a free certificate for your domain and www subdomain.
Then in WordPress, go to Settings → General and update both the WordPress Address and Site Address from http:// to https://. Install the Really Simple SSL plugin to handle redirects automatically and fix any mixed-content warnings.
Step 6: Optimise for LiteSpeed
Our servers run LiteSpeed Web Server, which has native caching that dramatically outperforms standard WordPress caching plugins. Install the LiteSpeed Cache plugin from the WordPress plugin repository and enable it — this alone can double or triple your page speed without any configuration.
Basic recommended settings:
- Enable page cache
- Enable browser cache
- Enable GZIP/Brotli compression
- Enable image lazy loading
Step 7: Verify Your Site Is Working Correctly
Before you declare the migration complete:
- Check your homepage loads correctly over HTTPS
- Visit 5–10 pages and verify content loads
- Test any forms, contact pages, or checkout flows
- Check your admin panel loads at /wp-admin
- Run a broken link check (the Broken Link Checker plugin works well)
- Submit your sitemap to Google Search Console from the new host's IP
Common Issues and Fixes
White screen of death after migration
Usually a PHP version mismatch. In cPanel → MultiPHP Manager, set your domain to use PHP 8.1 or 8.2. Also check that your wp-config.php database credentials match the new database you created.
Images not loading
If you migrated files via FTP rather than Duplicator, your uploads folder permissions may be wrong. In cPanel File Manager, right-click the wp-content/uploads folder and set permissions to 755.
Emails not sending
WordPress uses PHP mail by default, which may be blocked on shared hosting. Install the WP Mail SMTP plugin and configure it with your SMTP provider (Gmail, SendGrid, Mailgun, or the cPanel email account you created).
Ready to Get Started?
WordPress on offshore hosting is no more complicated than WordPress on any other host — you just have the added peace of mind that abusive takedown attempts are reviewed, not auto-executed.
If you are setting up multiple WordPress sites or managing clients, our reseller hosting plans give you the best value and flexibility. For a single site, our shared hosting is a quick and affordable starting point. Contact our team if you need help with your migration.
Written by
Ahtsham Khan Qazi
Founder & CEO, Qazi.Host · RHCSA · CCNA · 14+ years in server administration
Runs the shared, reseller and dedicated infrastructure behind Qazi.Host and writes these guides from the servers he administers. Corrections and questions are welcome on WhatsApp.
Read full bio →Related Articles
More guides on DMCA Ignored Hosting to help you make the right decision.
Is DMCA Ignored Hosting Legal? The Honest Answer
A straightforward guide to the legality of DMCA ignored hosting — who it is legal for, where it operates, and what the actual risks are. No legal jargon, no scare tactics.
What is DMCA Ignored Hosting? Complete Guide
DMCA ignored hosting lets website owners publish content without the fear of instant takedown from questionable abuse complaints. Learn how it works, who needs it, and how to choose a legitimate provider.
DMCA Ignored Hosting for WordPress: Why It Matters and How to Choose
WordPress powers 43% of the web — and WordPress sites are the most common targets of abusive DMCA takedowns. Here is why DMCA ignored hosting makes sense for serious WordPress site owners.
Best DMCA Ignored Hosting 2026: 6 Providers Honestly Compared
We tested and compared six of the top DMCA ignored hosting providers for 2026 — pricing, server location, abuse policy, support, and real uptime. One came out ahead on almost every metric.