Setting up a cPanel server is a sequence, not a single command. The installer itself is the easy part: one line, then 30 to 60 minutes of waiting. The work that decides whether the server is fit to host paying customers happens before it (OS, hostname, DNS) and after it (WHM configuration, PHP and database, firewall, hardening, testing). This guide walks the whole sequence in the order we use on our own machines and on the servers we build for customers, with the commands, the WHM screens and the checks at each step.
⚡ Quick answer: To set up a cPanel server you need a fresh 64-bit AlmaLinux, Rocky, CloudLinux or Ubuntu 24.04 install with at least 2 GB RAM, 20 GB disk, a static IPv4 and a hostname that is a real domain name. Update the OS, set the hostname, disable SELinux, then run cd /home && curl -o latest -L https://securedownloads.cpanel.net/latest && sh latest. Log in to WHM on port 2087, complete the Initial Setup (licence, contact email, nameservers, resolvers), then configure PHP and the database, install a firewall, harden SSH and WHM, and test with a real account before adding customers.
Who this is for: anyone with root on a fresh VPS or dedicated server who wants WHM/cPanel on it: resellers moving up from reseller hosting, agencies leaving shared plans, developers who want one server done properly. If you only manage sites inside an existing cPanel account, the server-level steps here are your host's job, not yours.
What's in this guide
- What you need before you start
- Which operating system should you install cPanel on?
- Step 1: Prepare the server
- Step 2: Set the hostname and DNS records
- Step 3: Install cPanel & WHM
- Step 4: WHM initial configuration
- Step 5: PHP, PHP-FPM and the web server
- Step 6: MySQL or MariaDB
- Step 7: Firewall and basic hardening
- Step 8: CloudLinux, LiteSpeed and Imunify360
- Step 9: Packages, backups, mail and the first account
- Step 10: Production readiness checklist
- Mistakes that cost people a reinstall
- Do it yourself or order the setup?
- FAQ
What do you need before you start?
cPanel publishes hard requirements and refuses to install when they are not met. Check every row before you order the server, because the ones you cannot change afterwards (OS, virtualisation type, IPv4) are the ones that cost a reinstall.
| Requirement | Minimum | What we actually use |
|---|---|---|
| Operating system | AlmaLinux 8/9/10, Rocky 8/9, CloudLinux 8/9, Ubuntu 24.04 LTS, 64-bit, freshly installed | AlmaLinux 9 (CloudLinux 9 for multi-tenant servers) |
| RAM | 2 GB (3 GB if you want ClamAV) | 4 GB for a few sites, 8 GB and up for resellers |
| Disk | 20 GB, plus 5 GB free in /usr/local/cpanel during install | 40 GB NVMe or more; backups need their own space |
| CPU | 1.1 GHz, x86_64 (ARM is not supported) | 2 vCPU minimum, 4 for anything with logged-in users |
| Network | 1 static IPv4 (IPv6-only is not supported); NAT needs 1:1 mapping plus loopback | A public IPv4 directly on the server, no NAT |
| Hostname | Registered FQDN, max 60 characters, resolves to the server, not a domain the server will host | srv1.yourbrand.com with matching A and PTR records |
| Licence | One per server; a 15-day trial is issued automatically to new IPs | A cPanel licence bought before install, so activation is instant |
| Access | Root over SSH | Root with an SSH key, password login switched off after setup |
Two things trip people up. SELinux must be disabled (cPanel will not run with it enforcing), and the OS must be clean: no pre-installed Apache, MySQL, Postfix or a hosting panel from your provider's "LAMP" image. The cPanel installer brings its own copies of all of that and conflicts with anything already there.
Which operating system should you install cPanel on?
AlmaLinux 9 is the right answer for almost everyone. It is the free, binary-compatible successor to CentOS, the platform most cPanel plugins are tested on first, and the one CloudLinux converts from in place. The only reasons to pick something else are a licence you already hold or tooling that only exists on Ubuntu.
| OS | Choose it when | Watch out for |
|---|---|---|
| AlmaLinux 9 | Default choice; single-tenant or small reseller servers | Nothing specific. Supported until 2032. |
| AlmaLinux 10 | You want the longest runway and run cPanel 132 or later | Newer, so check that LiteSpeed, CloudLinux and Imunify360 already support it before you commit |
| Rocky Linux 9 | Your provider only images Rocky | Functionally the same as AlmaLinux for cPanel |
| CloudLinux 9 | Many separate customers; you want per-account CPU, RAM and IO limits and CageFS isolation | Needs a CloudLinux licence; you can also convert AlmaLinux later |
| Ubuntu 24.04 LTS | Your own automation is Ubuntu-only | PowerDNS is the only supported nameserver; some third-party plugins lag behind on Ubuntu |
| CentOS 7, Ubuntu 22.04, Debian | Never for a new install | Unsupported. Ask the provider for a supported image. |
Step 1: Prepare the server
Log in as root and do these before the installer touches anything. Every command below works on AlmaLinux, Rocky and CloudLinux; the Ubuntu equivalents are noted where they differ.
Update the OS. An installer running on top of stale packages is the number one source of odd failures.
dnf -y update && reboot
# Ubuntu: apt update && apt -y full-upgrade && reboot
Disable SELinux. Edit /etc/selinux/config so the line reads SELINUX=disabled, then reboot. On Ubuntu there is no SELinux; AppArmor stays as it is.
sed -i 's/^SELINUX=.*/SELINUX=disabled/' /etc/selinux/config && reboot
# after reboot, confirm:
getenforce
Check that nothing else is installed. If any of these return a package, you were given a pre-configured image; ask for a clean one or remove the packages.
rpm -qa | grep -Ei 'httpd|mysql|mariadb|postfix|exim|php-' Confirm the basics. A static public IPv4, enough RAM and disk, and a working resolver.
ip -4 addr show | grep inet
free -h
df -h /
cat /etc/resolv.conf
Open a screen session. The installer runs for up to an hour and a dropped SSH connection halfway through is the easiest way to end up with a half-installed server.
dnf -y install screen && screen -S cpanelDo not install a firewall, Apache, PHP or a database now. On AlmaLinux 8 the installer disables NetworkManager itself; on 9 and later it leaves it alone. Firewalld is disabled by the installer as well, so that it can manage ports through its own rules; you add CSF afterwards.
Step 2: Set the hostname and DNS records
The hostname is the identity of the server: WHM's certificate is issued for it, mail is sent from it, and the licence is tied to the IP behind it. Get it right before installing, because changing it later touches the licence, the SSL and every service.
Rules cPanel enforces: a fully qualified domain name (two dots at least, like srv1.yourbrand.com), 60 characters or fewer, resolving to the server's IP, and not equal to any domain the server will host. Using the same domain for the hostname and a customer's site is the classic mistake; it makes mail and SSL for that domain fight with the server itself.
hostnamectl set-hostname srv1.yourbrand.com
hostname -f
DNS records to create at your registrar or DNS host before the install:
- An A record for
srv1.yourbrand.compointing at the server's IPv4. - A PTR (reverse DNS) record for that IP pointing back to
srv1.yourbrand.com. Your server provider sets this, not your registrar. Without it, mail from the server lands in spam. - If you will run your own nameservers, A records for ns1 and ns2.yourbrand.com, and glue records for them at the registrar. Two nameservers on one server is common and fine to start; a second server or a DNS cluster comes later.
Check from outside the server that the hostname resolves before you continue:
dig +short srv1.yourbrand.com
dig +short -x YOUR.SERVER.IP
Step 3: Install cPanel & WHM
The whole installation is one command. Run it inside the screen session as root, from the /home directory.
cd /home && curl -o latest -L https://securedownloads.cpanel.net/latest && sh latestHow long does a cPanel installation take? Typically 30 to 60 minutes. The installer downloads and compiles or unpacks Apache, PHP, Exim, Dovecot, MySQL or MariaDB, BIND or PowerDNS, and cPanel's own code. A fast NVMe VPS with a 1 Gbps port lands near the low end; a slow disk or a throttled network pushes it past an hour. If your SSH session drops, reconnect and run screen -r cpanel to get back to it.
Choosing the database engine. The installer picks MySQL 8 by default on new systems. If you want MariaDB, create the file /root/cpanel_profile/cpanel.config before running the installer with a line such as mysql-version=10.11 (or 11.4). Switching from MySQL 8 to MariaDB after the fact is not supported as a downgrade path, so decide now. We cover the trade-off in Step 6.
When it finishes you will see the WHM URL printed. It is always https://srv1.yourbrand.com:2087 (or the IP on port 2087). The certificate will be self-signed for a few minutes until AutoSSL runs for the hostname; that is expected.
Step 4: WHM initial configuration
Log in to WHM as root. The first run walks you through the Initial Setup. Take it seriously; these settings are copied into every account created later.
- Licence. If the IP already has a licence it activates itself. Otherwise the 15-day trial starts. To activate a purchased licence later, run
/usr/local/cpanel/cpkeyclt. - Agreement and contact email. Use a mailbox that is not hosted on this server. Alerts about the server being down are useless if they are delivered to the server.
- Nameservers. Enter ns1 and ns2.yourbrand.com. WHM offers to add the A entries for them to the hostname's zone; accept if the zone lives here.
- Resolvers. Your provider's resolvers first, then public ones such as 1.1.1.1 and 8.8.8.8. Slow resolvers make every mail delivery and every WHM screen slow.
- Basic WebHost Manager Setup (Server Configuration): the default nameservers for new accounts, the shared IP, and the default cPanel theme.
- Tweak Settings (Server Configuration): the long list. The ones we always set on day one are in the table below; leave the rest at default until you have a reason.
| Tweak Setting | Value we use | Why |
|---|---|---|
| Max hourly emails per domain | 200 to 500 | One hacked contact form cannot burn the IP's reputation in an hour |
| Prevent "nobody" from sending mail | On | Forces PHP mail through the account's own user, so spam is traceable |
| Cookie IP validation | Strict (or loose behind mobile networks) | A stolen session cookie is useless from another IP |
| Require SSL for cPanel/WHM/Webmail | On | No plaintext logins on 2082/2086 |
| Compiler access (Security Center) | Disabled for unprivileged users | Exploit kits love a working gcc |
| Shell Fork Bomb Protection | Enabled | Limits what one shell user can do to the load average |
| Update Preferences | RELEASE tier, automatic | Security fixes arrive without you remembering to run /scripts/upcp |
Two more WHM screens belong to this step. Manage AutoSSL (SSL/TLS): enable the cPanel provider, run it, and confirm the hostname gets a certificate. Service Manager (Service Configuration): switch off what you will not use. A server that hosts no mailing lists does not need Mailman; a server with no FTP users does not need ProFTPD listening on port 21.
Step 5: PHP, PHP-FPM and the web server
cPanel ships Apache through EasyApache 4 with a default profile that includes several PHP versions. The default works; it is not tuned. Here is what to change.
EasyApache 4 (Software): customise the profile. Keep only the PHP versions you will actually offer (usually the current three: 8.2, 8.3, 8.4 at the time of writing) and the extensions your customers' applications need (mbstring, intl, imagick, opcache, zip, soap, gd, curl, mysqlnd). Removing PHP 7.x and unused modules shrinks the attack surface and the update time. Choose MPM Event over Prefork; with PHP-FPM it handles far more concurrent connections per gigabyte of RAM.
MultiPHP Manager: set the system default PHP version to the newest stable one and turn on PHP-FPM for it. Per-account PHP-FPM pools give each account its own worker processes with their own memory and process limits, which is both faster than suPHP or mod_lsapi under load and safer, because one site's runaway script cannot exhaust the shared handler. MultiPHP INI Editor sets memory_limit, upload_max_filesize, post_max_size and max_execution_time per version; 256M, 64M, 64M and 120 are reasonable starting points for WordPress-heavy servers.
OPcache is the single most effective PHP optimisation there is: compiled scripts stay in memory instead of being parsed on every request. It is installed with the ea-php-opcache package for each version; confirm it is enabled and give it 128 MB to 256 MB of memory on a server with several sites. The rest of the PHP and database tuning, including how to measure whether a change actually helped, is in the cPanel server optimization guide.
LiteSpeed instead of Apache. If you hold a LiteSpeed Enterprise licence, install it now, before any account exists. The LiteSpeed cPanel plugin reads the EasyApache configuration and .htaccess files, so nothing customer-facing changes, and it adds LSCache, which is what makes LiteSpeed Cache for WordPress work. Do the switch through the plugin's "Change Port Offset / Switch to LiteSpeed" flow, then confirm the hostname and a test site serve through LiteSpeed with curl -I (look for server: LiteSpeed).
Step 6: MySQL or MariaDB?
Direct answer: MariaDB 10.11 or 11.4 (both long-term support releases) for most hosting servers; MySQL 8 if a specific application demands it. cPanel supports MySQL 8.0 and MariaDB 10.6, 10.11 and 11.4 on current operating systems. MariaDB uses less memory at idle, starts faster, and is what CloudLinux's MySQL Governor and most hosting tooling target first. MySQL 8 is the better fit for a single large application that was built and tested on it. Because cPanel does not support moving from MySQL 8 back to MariaDB, the choice is effectively permanent for the life of the server.
Whichever you pick, the default configuration is sized for a tiny server. Set innodb_buffer_pool_size to roughly 25% of RAM on a mixed hosting server (more if the box only runs databases), enable the slow query log, and cap max_connections at a number the RAM can sustain. The values live in /etc/my.cnf; restart with /scripts/restartsrv_mysql. We go through the reasoning and the measurements in the optimization guide.
Step 7: Firewall and basic hardening
A fresh cPanel server is not hardened. cPanel leaves things open so that nothing breaks during setup and expects you to lock it down. Do the following before the first customer account, and read the full cPanel server security hardening guide for the complete list with every setting explained.
SSH first. Add your public key, confirm you can log in with it, then turn off password authentication and restrict root login.
mkdir -p ~/.ssh && chmod 700 ~/.ssh
echo "ssh-ed25519 AAAA...your-key..." >> ~/.ssh/authorized_keys && chmod 600 ~/.ssh/authorized_keys
sed -i 's/^#\?PasswordAuthentication .*/PasswordAuthentication no/' /etc/ssh/sshd_config
sed -i 's/^#\?PermitRootLogin .*/PermitRootLogin prohibit-password/' /etc/ssh/sshd_config
sshd -t && systemctl restart sshd
Firewall: CSF/LFD. ConfigServer, the company behind CSF, closed on 31 August 2025 and released version 15 under the GPLv3. cPanel now maintains a public fork and pushes updates through its own mirrors, so CSF remains the standard firewall on cPanel servers; just make sure you install from cPanel's maintained source rather than an old tarball. After installation, edit /etc/csf/csf.conf: set TESTING = "0", trim TCP_IN to the ports you use (22 or your SSH port, 25, 53, 80, 110, 143, 443, 465, 587, 993, 995, 2082-2096), keep LF_SSHD, LF_CPANEL and LF_FTPD enabled, and restart with csf -r. Add your own office or home IP to csf.allow before you enable it, so that a typo does not lock you out.
cPHulk (Security Center) blocks repeated login failures against cPanel, WHM, webmail, FTP and SSH at the application layer; enable it and whitelist your IP. Security Advisor (Security Center) then gives you a list of everything else cPanel thinks is wrong with the server; work through the red and yellow items. On a fresh install that usually means Compiler Access, symlink protection, the SSH port and the root password strength.
Updates. Confirm cPanel automatic updates are on (Update Preferences) and enable OS security updates so kernel and OpenSSL patches do not wait for you:
dnf -y install dnf-automatic
systemctl enable --now dnf-automatic-install.timer
# Ubuntu: apt -y install unattended-upgrades && dpkg-reconfigure -plow unattended-upgrades
Kernel updates still need a reboot. KernelCare applies them live if a reboot window is a problem for you.
Step 8: CloudLinux, LiteSpeed and Imunify360 (optional layers)
None of these are required for a working cPanel server. Each one solves a specific problem; install the ones whose problem you actually have.
CloudLinux is for servers with many separate customers. Its LVE limits cap CPU, memory, IO, IOPS and processes per account, so a badly coded plugin on one site slows that site down instead of the whole server, and CageFS gives every account its own virtual filesystem so users cannot see each other's files or the server's configuration. Convert an existing AlmaLinux server with the cldeploy script using your CloudLinux licence key, reboot into the CloudLinux kernel, then set limits per package in WHM's LVE Manager. Add the PHP Selector so customers can pick their PHP version themselves.
Imunify360 is a security suite: a firewall with a shared threat-intelligence blocklist, a web application firewall, a malware scanner with automatic cleanup, and proactive defence that stops known-bad PHP behaviour at runtime. It is licensed per server (see Imunify360 licence) and installs with a single script. If CSF is present, Imunify360 detects it and disables its own overlapping features (blocked ports, DoS protection and the SMTP traffic manager) so the two do not fight; CloudLinux's own documentation says both arrangements are supported. We run Imunify360 alongside CSF on multi-tenant servers and CSF plus ModSecurity alone on small single-purpose ones.
LiteSpeed was covered in Step 5 because it belongs in the web stack; the point to repeat is that it should go on before accounts exist, not after.
Step 9: Packages, backups, mail and the first account
Packages and feature lists (Packages): define what a customer gets, disk, bandwidth, addon domains, databases, mailboxes, and which cPanel features are visible. Even for a single-site server, create one package rather than editing accounts individually; it makes the next account consistent.
Backup Configuration (Backup): daily incremental backups retained for at least 7 days, with a remote destination (SFTP, S3-compatible storage, or Backblaze B2) that is not on this server. A backup on the same disk is a copy, not a backup. If you need per-account restores customers can run themselves, JetBackup replaces the built-in system with something far more flexible.
Mail. If the server will send mail, and almost every server does even if only for password resets, set up authentication for every domain: SPF and DKIM are generated per domain in WHM's Email Deliverability screen, and a DMARC record (v=DMARC1; p=quarantine; rua=mailto:dmarc@yourbrand.com) goes in DNS. Confirm the PTR record from Step 2 matches the hostname; without it, Gmail and Microsoft will reject or spam-folder everything.
Create the first account (Account Functions, Create a New Account) with a real domain you control, using the package you just made. This account is your test bench for the checklist in the next step. Delete it at the end, or keep it as your own site.
Step 10: Production readiness checklist
A cPanel server is production-ready when every row below passes from outside the server, not just from WHM. Run these from your laptop, not from the server itself.
| Check | How | Pass looks like |
|---|---|---|
| Hostname and reverse DNS | dig +short srv1.yourbrand.com; dig +short -x IP | Both point at each other |
| Nameservers answer | dig @ns1.yourbrand.com testdomain.com | Authoritative answer, no timeout |
| HTTPS on the test site | curl -I https://testdomain.com | 200, valid certificate, server header shows LiteSpeed or Apache as intended |
| PHP runs under FPM with OPcache | A phpinfo page on the test site | Server API shows FPM/FastCGI; opcache.enable is On |
| Database | Create and drop a database from the test cPanel; connect with a PHP script | Connects; the MySQL error log is quiet |
| Mail out and in | Send to a Gmail address and reply | Inbox, not spam; SPF, DKIM and DMARC pass in the headers |
| Only intended ports open | nmap -Pn IP from outside | Exactly the CSF TCP_IN list, nothing else |
| Brute-force blocking works | Fail SSH login 6 times from a spare IP | LFD blocks it; you receive the alert email |
| Backups exist off-server | Wait for the first run; restore the test account from it | Restore completes and the site loads |
| Security Advisor | WHM, Security Center | No red items you have not consciously accepted |
| Monitoring | External uptime check on the hostname and the test site | Alert arrives on WhatsApp or email when you stop Apache for 2 minutes |
What happens after this point, the weekly and monthly upkeep and what to watch, is a different job from installation; the cPanel server management and monitoring guide covers it, including the difference between installing, managing and merely monitoring a server.
Mistakes that cost people a reinstall
- Hostname equals a hosted domain. The server and the site fight over mail and SSL for the same name. Use a subdomain you will never host as a site.
- Installing on a provider's LAMP image. The installer aborts, or worse, finishes with two copies of MySQL. Start from a minimal OS image.
- Running the installer twice. If it fails halfway, read
/var/log/cpanel-install.log, fix the cause, and reinstall the OS. A second run on top of a broken first one produces a server that misbehaves for years. - Container VPS plans. OpenVZ and LXC containers share the host kernel; CloudLinux cannot install its kernel, and some providers' containers lack the quota support cPanel needs. Buy KVM.
- Choosing MySQL 8 by accident. It is the installer default. If you wanted MariaDB, you cannot go back without a rebuild.
- Enabling CSF with TESTING=1 left on. The firewall silently flushes itself every 5 minutes and you believe you are protected.
- No off-server backup before the first customer. The first disk failure or ransomware incident then decides the fate of the business.
Do it yourself or order the setup?
Everything above is doable in an afternoon if you have done it before, and in a long weekend if you have not. The parts people get wrong are not the ones with commands; they are the judgement calls: which Tweak Settings matter, how big the PHP-FPM pools should be for this RAM, which CSF ports to close, whether this server needs CloudLinux at all.
If you would rather have it done once and done right, our cPanel server installation service performs every step in this guide on your VPS or dedicated server at any provider, including LiteSpeed, CloudLinux, Imunify360 and Softaculous when you hold the licences, for a flat $50, and hands over root with a written note of every setting changed. The guides exist so you can check the work.
FAQ
How long does it take to set up a cPanel server?
The installer runs for 30 to 60 minutes. Preparation before it (OS update, hostname, DNS) takes 15 to 30 minutes if the records are ready. Configuration and hardening after it takes 2 to 4 hours for someone who does it regularly, longer the first time, because that is where the decisions are.
Can I install cPanel on a VPS?
Yes, on any KVM or similar fully virtualised VPS with a supported OS, root access and a public IPv4. Container-based VPS plans (OpenVZ, LXC) sometimes work but cannot run CloudLinux and may lack quota support, so we recommend KVM. The minimum is 2 GB RAM and 20 GB disk; 4 GB and 40 GB is a realistic floor for a server that hosts more than a couple of sites.
Is cPanel free?
No. cPanel is licensed per server and priced by the number of accounts (Solo, Admin, Pro, Premier tiers). New installations get a 15-day trial automatically. Licences bought through a partner such as our cPanel licence store cost less than buying direct, which matters once you host more than a handful of accounts.
Can I install cPanel on Ubuntu 22.04 or CentOS 7?
Not for new installations. cPanel supports the current Ubuntu LTS (24.04) and the RHEL 8, 9 and 10 family (AlmaLinux, Rocky, CloudLinux). CentOS 7 reached end of life in June 2024. If your provider only offers an older image, ask for AlmaLinux 9.
Can I change the hostname after installing cPanel?
Yes, through WHM's Change Hostname screen, and it will update the configuration, but the licence check, the hostname certificate, mail and any DNS pointing at the old name all need attention afterwards. It is far less work to choose the final hostname before the installer runs.
Do I need CloudLinux for a cPanel server?
Only if the server hosts multiple customers you do not control. For your own agency's 10 sites, per-account PHP-FPM pools and good backups are enough. For a reseller business, CloudLinux's limits and CageFS are what keep one customer from taking the rest down and from reading their files.
What should I do right after the installation finishes?
In this order: complete the WHM Initial Setup, run AutoSSL for the hostname, harden SSH, install and configure CSF, enable cPHulk, clear Security Advisor, configure PHP-FPM and OPcache, set backups to an off-server destination, then create a test account and run the production checklist above. Only then add a real customer.
Keep reading
Written by
Ahtsham Khan Qazi
Founder & CEO, Qazi.Host · RHCSA · CCNA · 14+ years in server administration
Runs the shared, reseller and dedicated infrastructure behind Qazi.Host and writes these guides from the servers he administers. Corrections and questions are welcome on WhatsApp.
Read full bio →Related Articles
More guides on cPanel to help you make the right decision.
cPanel Server Management and Monitoring: Complete Guide
What cPanel server management includes, what to monitor and alert on, the weekly routine, incident response, and installation vs management vs monitoring.
How to Optimize a cPanel Server for Better Performance
Measure first, then fix the real bottleneck: PHP-FPM, OPcache, Apache vs LiteSpeed, caching, MySQL tuning, CloudLinux limits, CPU, RAM and disk I/O on cPanel.
How to Secure a cPanel Server: Complete Server Security Hardening Guide
cPanel server hardening in order: SSH, CSF/LFD after the 2025 ConfigServer shutdown, cPHulk, WHM settings, PHP, ModSecurity, CageFS, Imunify360, updates, backups.
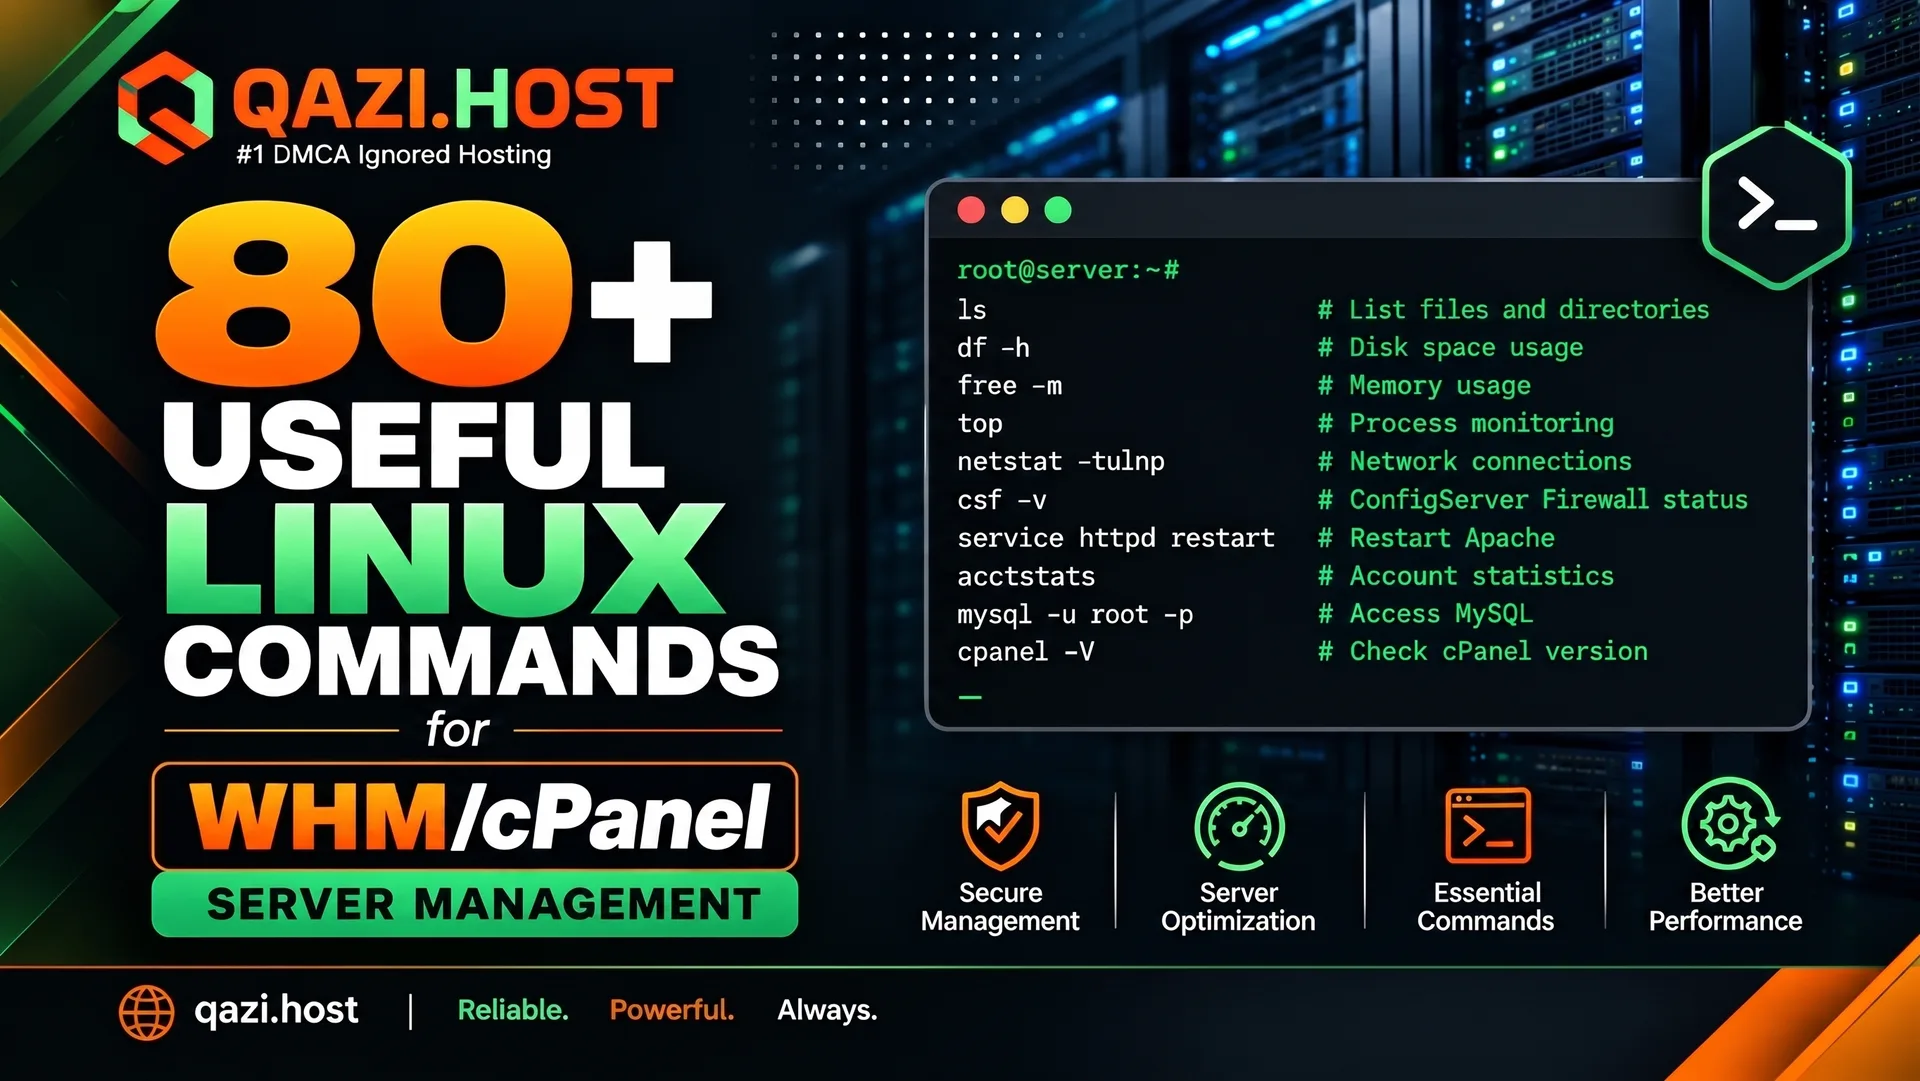
80+ Useful Linux Commands for WHM/cPanel Server Management
87 Linux commands for cPanel servers that admins actually use — SSH basics, cPanel scripts, Exim, MySQL, CSF, logs and disk cleanup, every command ready to copy.